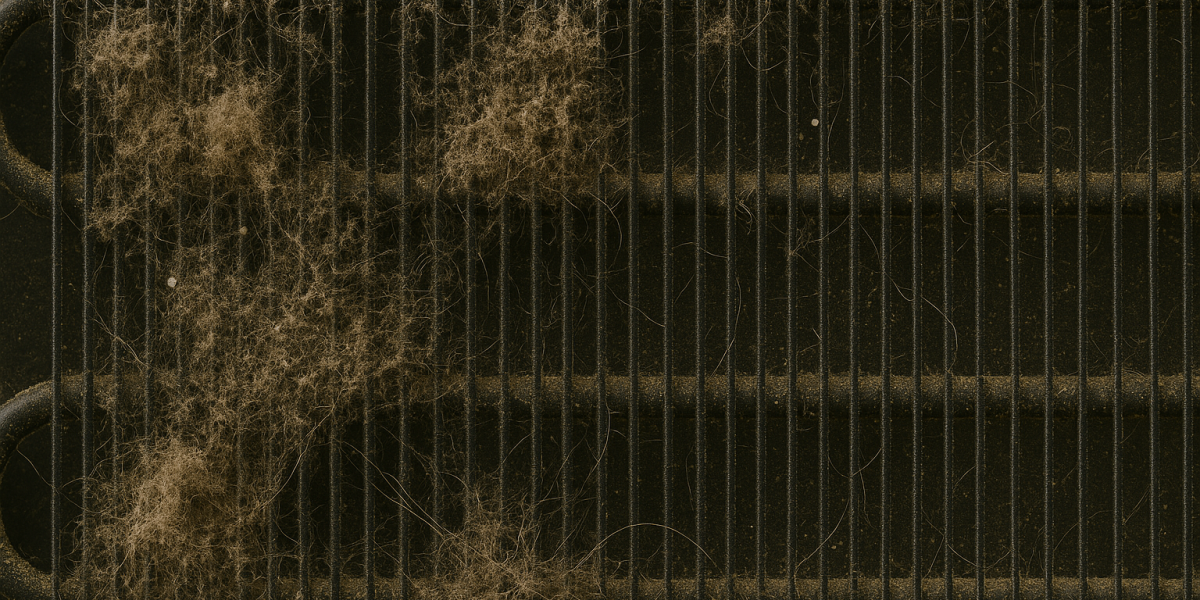
If your refrigerator’s cooling efficiency decreases, the main cause is dirty or blocked condenser coils. These coils must be clean because they play an important role in emitting heat from the fridge. If these coils are covered or blocked with dust, pet hair, or debris, the appliance takes more load to maintain cooling. This may increase the costs of energy, wear out the compressor, and also increase the risk of malfunctions.

Why Cleaning Refrigerator Coils Matters
When things like dust, grime, and pet hair build up on your refrigerator’s condenser coils, they act like insulation, trapping heat and preventing it from escaping. These build-up forces your fridge to work much harder to maintain the right temperature. If you ignore cleaning coils can lead to:
- Poor cooling performance of your refrigerator.
- Frequent compressor cycling or overheating.
- Increased energy consumption.
- Shorter lifespan of the appliance.
Whether you’re looking to clean refrigerator coils in a Samsung, Whirlpool, LG, Maytag, or another model, the process is mostly the same.
Tools You'll Need for Cleaning Refrigerator Coils
- Vacuum cleaner with hose or crevice attachment
- Refrigerator coil brush (or a long, narrow soft-bristled brush)
- Soft cloth or microfiber towel
- Compressed air cylinder (optional but effective)
- Screwdriver (if the grill or access panel is screwed on)
- Dust mask & gloves (recommended for allergy or dust sensitivity)
How to Clean Refrigerator Coils — Step-by-Step
Step 1: Unplug Your Refrigerator
Prioritize Safety First: In order to prevent an electric shock, always unplug the refrigerator from the power source before cleaning.
Step 2: Locate the Coils
Coils are usually found in one of three places:
- Underneath the fridge, behind a toe/kick plate
- At the back, near the bottom
- On top, hidden behind a panel in some older or commercial models
If you’re not sure, check your refrigerator manual for the exact location.
Step 3: Move the Refrigerator (if needed)
If your refrigerator has coils on the back or underneath, carefully pull your fridge away from the wall. Take care not to stretch any related water lines or harm the flooring.
Step 4: Remove the Grill or Access Panel
If coils are behind a cover or grill, remove it using a screwdriver or by gently unsnapping it.
Step 5: Vacuum Loose Debris
To extract large dust and dirt particles, use a thin attachment on your vacuum hose. Additionally, clean the area beneath and around the coil.
Step 6: Use a Coil Brush to Scrub
To gently remove stiff debris from the coils, use a refrigerator coil brush. Be careful not to bend the delicate fins as you brush in long, soft strokes.
Step 7: Use Compressed Air (Optional)
Compressed air can remove dust and other particles from hard-to-reach places. Just lay a towel down first because it can get messy.
Step 8: Wipe Down the Area
Wipe the surrounding surfaces with a moist microfiber cloth, then dry with a towel.
Step 9: Reassemble and Plug Back In
Replace the grill or panel, push your refrigerator back into place, and plug it back in.
How Often Should You Clean Refrigerator Coils?
- Every 6 months for most households
- Every 3 months, if you have pets or live in a dusty area
Regular maintenance can extend the life of your fridge, lower energy bills, and ensure your food stays fresh and cool.
Need Expert Help?
If still facing performance issues with your refrigerator, you need to call an expert. We at Advance Appliance Ltd have more than 30 years of experience in the field of appliance repair in Calgary. Call now or book online for same-day refrigerator repair in Calgary.
